Monday, October 8, 2012

Pumpkin Shaped Pumpkin Spice Cake

    I saw a pretty crazy pin on pinterest the other day and I knew, just knew, I must recreate it. The pin looked a little something like this:

   I found a yummy looking pumpkin spice bundt cake recipe (you can't make a pumpkin shaped cake any other flavor. That would be a mind trip). After baking the cake, I promptly lost it. It was good though but sad day for you becauese I can't share it. Sad face (brighten up, buttercup! I will share the frosting recipe which was INTENSE).
   Ok, so make two bundt cakes (you will need to double your bundt cake recipe). I saved a little to make a muffin for a "stem"
My "stem" waiting to bake
Once it is cool, trim the bottom of the bundt cakes so that they will lay flat on each other and now on to the frosting! 
Incredibly Awesome and Easy Cream Cheese Frosting
-1/2 cup butter at room temperature 
-8 oz cream cheese, softened 
-2 to 3 cups powdered sugar
-1 tsp vanilla
1. Cream butter and cream cheese together
2. Add vanilla. Add powered sugar slowly. Keep adding until you reach your desired consistency  

   Simple, easy, yummy! I only made one batch. There was complaints that it was not frosty enough so if your gang likes frosting, double it. I scooped a little frosting out of the bowl before adding the orange food coloring. I colored the other frosting green for the stem. 

Boys with our pumpkin before frosting

Once the frosting is ready, "glue" the bundt cakes together (put a little frosting on the bottom, flat part, of the bundt cake and then place the other bottom on top of the frosting so you make a round pumpkin shape). After that, spread that orange yummy-ness all over your cake. When the cake resembles a medium size pumpkin with a generous layer of frosting, frost your stem. Place stem on top of bundt cake (my recommendation would be to use a big size muffin pan instead of regular. My poor little stem kept wanting to fall into the bundt cake hole. I kept it in place with a bamboo skewer. Clever, huh?)
Here it is. Our finished product. It is no where near as beautiful as the pinterest one. The boys were over the moon with it. 
Damn, writing this has made me really want the last piece that is in the kitchen...I am not sure I can resist. I give in! Cake time!


Thursday, October 4, 2012

This week in homeschooling


   So I had every intention of sitting down this quiet morning, with a cup of coffee and finish tales from Clackamas lake. My good friend Sarah has pointed out a few times how I never wrapped that trip up. I promise it is coming but I am sure if I go into the bedroom one more time to look for the cord I need to connect the picture thing (like my techology knowledge?) to the laptop, husband will throw a pillow at me.
   So instead, I am sitting at the dinner table coffee cup steaming by my side as the sky slowly melts from a velvety black to dark blue. Pandora is streaming some Billie Holiday and the apple pumpkin bread (recipe to follow at some point) is making the room smell spicy and sweet.
   I set my alarm for 6am. I have done this every morning since Monday but this is only the second day that I managed to NOT hit the off button and fallen back to sleep until husband has to wake up for work. When the boys were younger, I would wake up naturally between 5-6am. It was great! I was able to get my cleaning down, cooking projects started, have me time. My sleep cycle has changed in the last year. I stay up to about 11 and waking up before 7 is not fun and could result in injury (to someone else, not me). I am trying to recreate that early morning productive time so that is why I am here right now. Blogging (Shhh, just ignore the large pile of laundry in the corner and the dust bunnies rolling by like tumbleweeds).
   This week in homeschool started out rocky. Number 1 apparently thinks he can act like a moody teenager. Whenever it would be "work time" thunder rolled and lightening cracked and the sweet, loving, kind boy was eaten by a demon who became argumentative and rude. Obviously, he wasn't liking what we were doing and I can't blame him. I had dropped the ball. Basically, I was asking him to do worksheets, and worksheets, and worksheets. I hate worksheets. And here I was force feeding him worksheets because it is so so so much easier to give a kid a worksheet than actually plan activities. Demon child number 1 had to go so I ditched the worksheets and started planning better and far more engaging activities.
   Our lovely Aunt Susie, left for Spain this week and we went with her...kinda. We have spent a chunk of our "work time" learning about Spain. I can say without a doubt the kids have enjoyed learning about bullfighting and encierro (running with the bulls). We have watched a lot of people getting gored. On a positive note, number 1 is pretty knowledgeable about how to successfully run with bulls and not get trampled, gored, or injured in any other way. Some of the activities, besides watching slightly inappropriate videos on youtube, has been reading about Spain (duh!), learning a few Spanish words, making Spanish recipes, learning about it's landscape, flag, Spanish pastimes (soccer, flamenco,), the awesomeness of the siesta, etc. Simple basic information.Later today we are going to delve into Picasso and make a few Picasso inspired self-portraits Here is a couple  pictures of our Spain Adventure:
Number 2's interpretation of the Spanish Flag

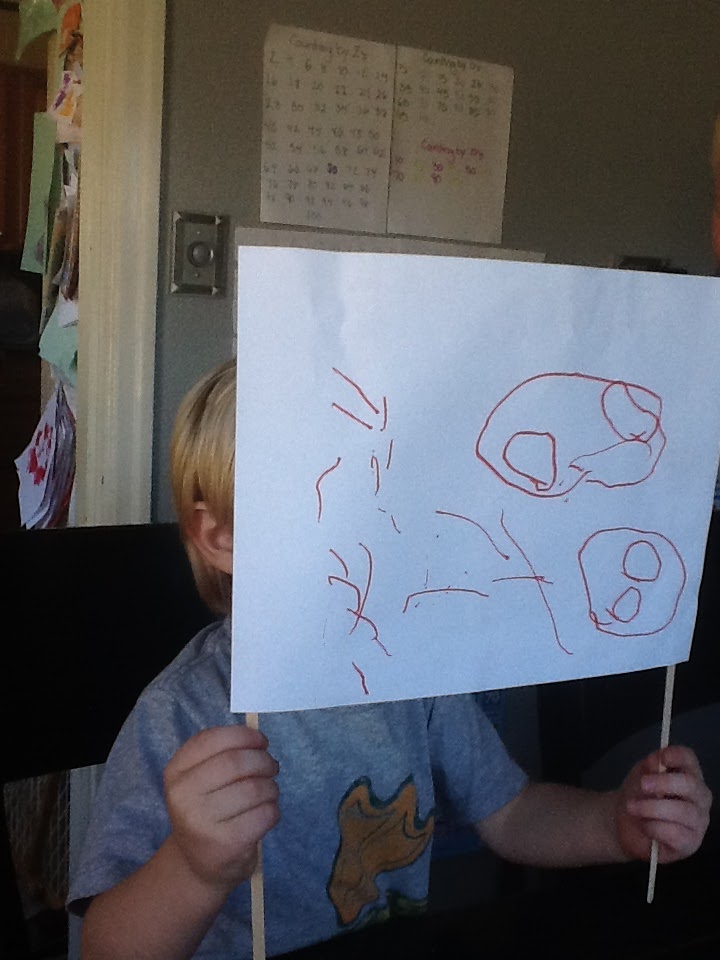
Number 1's take on the 1795 Spanish Flag

A map of Spain with Barcelona highlighted. That is where Aunt Susie is going
   Every week, we learn 4 new sight words. I needed a fun, new way to work on memorizing them. Just putting a notecard into Number 1's face and expecting him to enjoy being drilled wasn't working. Go figure. I made a game board and put it into a page protector. I then wrote the sight words we are working on in each square of the board game. Writing the words with a wet erase marker makes it easy to remake the game to include new words, or make it a math game, etc quickly. Number 1 was grouchy we had to play this game but once we actually played, he loved it and requested we play a second time. BOOYA!


Another fun sight word activity is ZAP! I wrote our sight words on different shaped wood pieces and put them into a container. You set a timer (we did 7 minutes) and you take turns picking out a piece. If you read the word correctly, you keep the piece. If you incorrectly read it, you put it back. If you get a zap, you put all your pieces back. We played this 2-3 times the first time I introduced it this week.
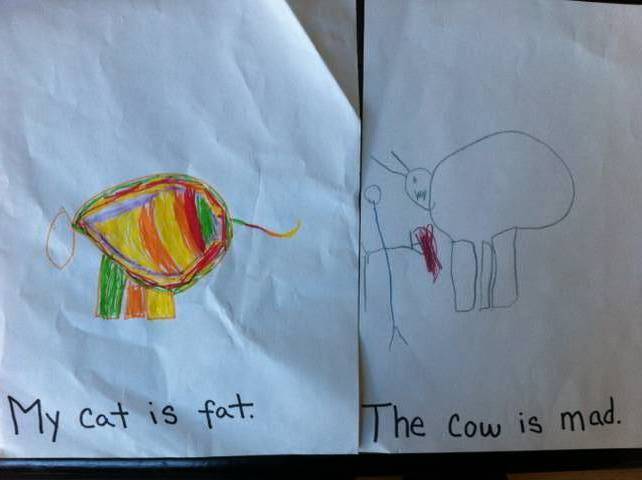
   Number 1 is a good reader, however he tries reading by looking at the pictures, not the words. I wanted to encourage him to read the words so instead of having him practice reading just from a boring book (Pat the cat, He has a bat, etc). I write a simple sentence on paper, which he has to read in order to figure out how to illustrate it. This one is a winner.
Notice how "The cow is mad" picture is a bullfight.

   We have also been working on nouns, verbs, and adjective this week. We would take turns thinking of nouns, verbs, or adjectives. Once we had a good list we would  tell each other a sentence and the listener would then have to identify the noun, verb, or adjective in the sentence. Mad libs were also used which were a hit.
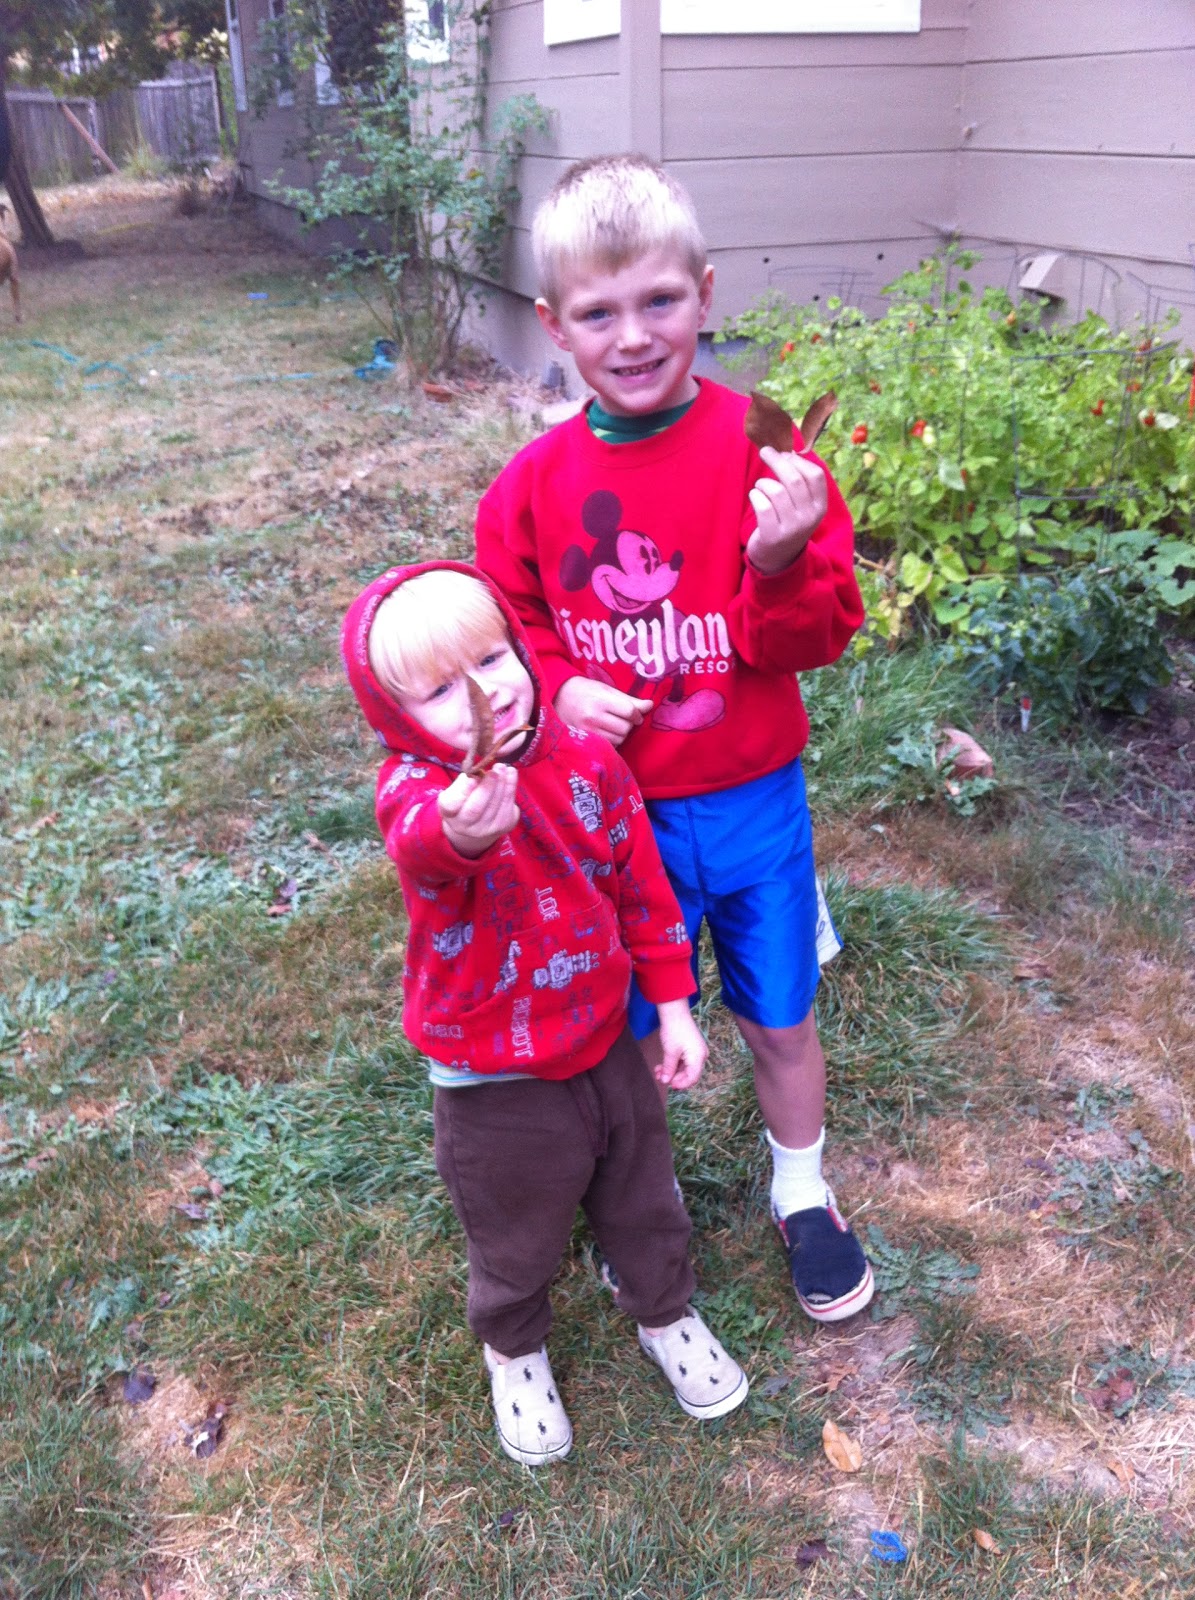
   For science Friday this week, we are kicking off our geology unit. We are going to dig in the backyard and see how the soil color changes. I found that experiment here: http://www.education.com/activity/article/crocodile_hop_reading_first/
I need breakfast now and should probably tackle that laundry over there. Happy Thursday!

Sunday, September 30, 2012

Birthday Present Challenge

   I have taken on a challenge. I took on this challenge by accident, really. Last March, one of my son's friends was turning five. He, like many kids his age, has tons of toys and many of these toys get played with for five minutes before being shoved away in a dark, damp, corner to be forgotten about. I did not want that to happen. I wanted to get him a present that would stand out, that would actually mean something to him (whatever that means for a five year old).
   This kid loves space. No, not loves, is passionate about it. At five, he knows more about space than I know in my late 20's. I figured with his love of space and my slightly adequate quilting abilities I could tackle a space quilt with little difficulty.
   I did some shopping around. Holy moly, have you seen fabric prices recently? This quilt was going to cost a fortune! I almost lost hope of making a gift that had meaning and opting for the cheaper, impersonal, plastic toy. But nay! I could not do that. I got thrifty. I checked around on-line (craigslist, etc), scoped out clearance racks at the local fabric store, and spread the word around all the crafty people I know that I needed space fabric. Word of mouth worked wonders and a few fabulous crafters I knew helped me with my mission by donating some space fabric taking up room in their stash. This made the project waaaay more affordable.
   Since then I have figured out how the fabric stores work. You need to sign up for their coupons. Jo-Anne's fabrics almost always has a 40%-50% coupon floating around and if you watch their sales you can snag some great fabric for an affordable price. For example, tulle was 50% off the other day. SCORE! I was able to pick up tons of tulle for next to nothing. This will allow me to make tutus for two birthday parties for a few future ballerinas in my life.
    Anyway, I digress. Back to the space quilt. The bio boys enjoyed the process of getting the fabric, cutting it, watching (and helping) sewing together. Instead of going to the store and spending 10 minutes picking out a present, we spent a month or two looking for fabric (the boys loved when they were able to pick out the fabric to include), cutting out pieces, putting it together. A lot of love and time went into this present. When we had completely finished it, I wrapped the boys in the blanket and had them say something they loved about the birthday boy and a birthday wish they had for him (corny, I know).
   I was giddy with excitement when his birthday party rolled around and he was finally able to open his present. The response sealed the deal on the homemade present challenge. One parent asked me where I bought his quilt and I was able to proudly say, "Oh, we made it". That felt really good. It also feels good to know that he sleeps with his blanket every night and is one his favorite presents he got. My homemade present made more impact than a toy.
   Because of this experience, I decided I did not want to buy toys for birthday presents. I wanted to break the cycle of un-thoughtful plastic toys. I no longer wanted to contribute to the overpopulation of toys in a child's room. I want my gifts to stand out, to mean something to the child. The challenge was born. I have not bought a child's birthday present since (we are going ton 6 months). For the bio boy's birthdays, their present was their parties. We have two birthday parties coming up and I am making tutu's for the girls in their favorite colors, as well as scarves.
   Husband and I were talking about this challenge a few days ago and I am tempted to push the challenge further and no longer buy any pre-made gifts at all (this includes Christmas, people). I was unsure how our children would respond to this but husband told that a lot of hobby stores sell kits for making different toys (derby cars, remote control cars, etc). This way, the kids are still getting a toy they will like to play with but it is handmade and they can help make it. The benefit to this is that the kids get a project to work on and are learning.
   I think the challenge for no store bought presents has been accepted. Who is with me?

Edited 10-1-12: Dear faithful readers, As I was sitting at 7am folding laundry I realized I had made a mistake! I have not only crafted handmade thoughtful presents since March. I bought my nephews books for their birthday in August :0 I completely forgot.

PS. This post was apart of frugally sustainable Wednesday blog hop: http://frugallysustainable.com/2012/10/frugal-days-sustainable-ways-47/

Saturday, September 29, 2012

Science Friday

   Friday in our house is Friday night pizza night. It is a family tradition to make pizza, watch a movie, and pig out. Friday is also our science day. Science Friday has been sadly neglected for the last few weeks (ok, ok, more like a month). I could come up with a ton of excuses why that happened but it basically boils down to my lack of planning (bad mama!).
   This week when the husband said he needed to head up the mountain for work on Friday (he works for sixmoondesigns.com), I jumped on the opportunity to pack up the kids and go with him as we re-institute science Friday. I wanted to give the kids tons of time to just enjoy their surroundings, explore, and learn through observation so we needed to have a science activity that would allow for that. Enter the scavenger hunt! 
   A scavenger hunt is a low pressure activity. It allowed us to have fun while still learning. Our list included objects, shapes, colors, textures, as well as activities. It kept the husband, myself, the five year old, and the almost three-but-I am-not-ready-to-call-him-three year old entertained, happy, and engaged. 

The List (I put this together the morning we left. Your list can be way more kick ass if you don't procrastinate like me. Don't be like me)
-Rock
-Leaf
-Pine cone
-Flower
-Evergreen Tree
-Deciduous tree
-Bark
-5 pieces of litter 
-Something that is a circle
-Something that is a triangle
-Something that is square
-Something smooth
-Something soft
-Something rough
-Something red
-Something brown
-Something purple
-Something green
-An animal
-Hole in a tree
-Spider web
-Draw a picture of a flower
-Make a leaf print
-Draw a picture of a evergreen tree and deciduous tree (include details)

   I wrote the list on our iPad so we wouldn't need to waste any paper. I included the art activities to entertain the boys when Husband had to work and we needed to be out of the way a bit. I also wanted number 1 to show me what he had learned about evergreen and deciduous trees (we had talked about how evergreen trees have needles instead of leaves). We are trying to instill on our kids that we should always leave nature cleaner than we found it so whenever we do outside activities (hikes, camping,etc) we always try to improve the area we have been. Also, if you have a magnifying glass, bring it! Nothing beats looking at weird things in nature up close and personal.
   The other awesome things about this activity was that we did our hunt along a river and we discovered a few dead salmon which lead to a discussion about the life cycle of salmon. It was a "homeschooling at its best" moment. 
Examining a flower up close and personal

Exploring the river

We found an animal! Plus its empty eye socket was a circle. That marked two things off the list. BAM!

We had a fascinating discussion if this could count as a square. This discussion included terms such as rhombus,  parallelogram, and quadrilateral. But our kids are three (ALMOST!) and five so we let it slide...this time...

My boys!

Number 1 discovered photography and wanted to take some pictures. He took this one

and this one

Something Green!

A spider in his web

When he heard one of the kids shout "Spider web" he stuck out his front legs, ready to defend his home

Number 1 found this little inch worm/Caterpillar when he said "Mama is something on my neck?" Kids enjoyed it 

Inch worm hand off

"That was on me?!?"

Triangle 

5 pieces of litter 

Working on the art part of the hunt
Number 2 hard at work
Leaf rubbing

PS. This post was a part of Earning My Cape Super Link Party (http://earning-my-cape.blogspot.com/2012/09/super-link-party-20.html) and http://frugallysustainable.com/

Wednesday, September 26, 2012

"quick" papple crisp

Ok, husband named this recipe "Papple" Crisp because saying pear apple crisp was too long and not nearly enough fun. I made this for dessert tonight. Husband gave the kids giant helpings with an enormous amount of whip cream (which is exactly the way to enjoy a fabulous crisp) but the boy's smaller tummies were full after eating only the whipped cream and never made it to the amazing papple crisp portion of the dish. However, my tummy is not nearly as small and I devoured both portions. And it was divine.

Papple Crisp 
-A combination of 6 apples/pears ( I used 2 apples and 4 pears)
-6 tbs butter (margarine will do. Husband does not know what butter is so he bought margarine when he was sent on an emergency butter run *hangs head in shame*)
-2/3 cup brown sugar
-1/3 white sugar
-a pinch, sprinkle, or good shake of cinnamon and nutmeg
-dash to a splash of vanilla
-2-3 handfuls of oatmeal

Peel and slice up your papples and place in crock pot. Cream butter (or margarine *sigh*) with the sugars. Add your spices and vanilla. Mix in oats. Dump in the crock pot. Stir to combine. Cook on low for 4 hours. Enjoy with a massive amount of whipped cream.
You can kinda see the papple under my mountain of whipped cream...

   This made a lot but left overs make a great breakfast to sneak when the kids aren't looking.


P.S. This post was apart of Kitchen Fun Friday link up (http://kitchenfunwithmy3sons.blogspot.com/2012/09/its-time-for-our-kitchen-fun-and-crafty.html)

Leaf Art


   It is officially fall and I am excited. I love all seasons. My favorite time of the year is when one season is ending and the other is beginning. I like change. Consistency is boring.
   To help celebrate fall and to do some fun crafts, the kids and I decided to do some leaf art. Leaf art is simple, cheap, and messy which is a winning combination when you have two young kids.
   Step one: Find leaves that have already fallen from the trees. This is a great time to talk about evergreen trees and deciduous trees (Pst...in case you forgot evergreen trees don't loose their leaves but deciduous trees do. Play "guess that tree" and see if the kids can identify if it is evergreen or deciduous. You just mixed science with art. BAM! Two birds, one stone). Once you have a good selection of leaves you may move on to step 2.
Number 1 and 2 showing off their leaves
   Step 2: Round up your supplies (paint, paint brushes, paper, sponges, wet rags, dry rags, tons of rags. I find that putting paint on a paper plate makes clean up a lot faster. Yes, I know not very eco-friendly of me but I fear that if I do not dispose of the paint quickly enough little hands will find a way to make a masterpiece all over the walls...and furniture...and animals) and cover/remove any things that should not get paint on them that are within paint flinging distance.
Artfully placed paint supplies
   Step 3: Place leaf of your choice on paper, and sponge/brush paint around the border of the leaf

   Step 4: This is the extra credit step, the advanced step if you are feeling extra saucy. Place a little paint on the side of the "veiny" side of the leaf. You know, the side that has some texture. Once it has been painted, press it back on your leaf print to give your paper leaf a little extra dimension (are you digging my artsy terminology?)
Spicy leaf full of dimension 
   Step 5: Rinse and repeat until your anxiety about paint getting everywhere is over overwhelming or the kids have lost interest. Number 1 and 2 did a few leaf prints before going off and freestyle painting. 
Number 2 painting his leaf
Number 1
Number 1's super impressive leaf

Number 1 was anti this activity for a while and did not want to participate for a few minutes but once he realized it involved taking his shirt off and getting messy he was stoked. The kids made a page upon page upon page of art that is now drying in the kitchen and I am sure they are going to insist that every picture hang on the wall. I'm off to find some walls space. Until next time, friends!

PS. This post was apart of The Shabby Nest Friday link up (http://shabbynest.blogspot.com/) and frugally sustainable Wednesday blog hop http://frugallysustainable.com/2012/10/frugal-days-sustainable-ways-47/

Tuesday, September 25, 2012

Busy Weekend Adventures

When I asked number 2 what kind of cake he responded, "farm,". Of course he would want a cake that I couldn't just pick up from costco. One morning I woke up early and not wanting to get out of bed, I did a google image search of farm cakes. After looking through a few options of cakes, I felt like I could attempt a farm cake and not ruin it to much. Here is the cake adventure...

I made three cakes. Two chocolate and one vanilla (husband is a chocolate hater). Two round cakes and one square. The round cakes would form the base and I would make a couple cuts to the square cake to form a barn.


The three cakes ready to be decorated at 6:30am
   The cake recipes I used can be found here : http://allrecipes.com/recipe/simple-white-cake/  and  http://allrecipes.com/recipe/one-bowl-chocolate-cake-iii/  I have used the white cake recipe a few times and I am never happy with it so I have no clue why I don't find a different one. Apparently, I just think "well, maybe this time it will be better even though I did not change a thing," (shakes head). The chocolate cake recipe was awesome! Moist and chocolaty.
   I used a buttercream frosting to ice and decorate the cake. Here is the recipe:  http://www.foodnetwork.com/recipes/gale-gand/quick-vanilla-buttercream-frosting-recipe/index.html This recipe was a delight to make and to eat (and I ate a lot. Seriously, it was my breakfast). It was quick, smooth, and super tasty. I divided up the frosting in a few different bowls so I could make a variety of farm colors. I made green to ice the round cakes, inside and out.

Green cake (looks like grass...kinda)
   The next step was the hard one. Are you ready for it? Take your square cake and cut two corners off to make a slanted roof. Boom! Barn! Mind blowing right? Next I made some brownish color frosting for the roof. I borrowed a friend's cake decorating kit (.http://www.proverbialhomemaker.com/) She had 1,494,098,974 different types tips for the icing bags. After thoroughly examining each tip I found the one that would make the most "plank" like look. I could have probably gone fancy and made individual shingles but it was like 7am at this time and the more complex I want the higher the chance I would mess it up. It is always good to just keep it simple. 
   I made red frosting for the barn and used the same "plank" icing tip.
   Added a few details to give it that real barn like feel.
   I was super impressed with this cake. For a novice cake decorator, I think I nailed it. You look at it and see a barn which is what I was going for. I was so stoked about this cake that I skipped into the bedroom to awaken the sleeping husband so that he could admire the perfection that was my barn cake. And he did. Cause my cake was awesome.
   Saturday was also number 1's first football game. He was very excited despite the trauma of the night before when we had to fit his mouth guard which included a lot of tears, gagging, and an accidental bitten finger. I am happy to report that number 1 made a touchdown! It is hilarious to watch five year old's play football. Essentially, the kid who got the ball from the quarter back would run it in for a touchdown. Very little flags were pulled. A lot of kids raced passed the kid with the ball like they were racing, many kids would start to run for the end zone and then turn around and run the opposite way. The best would be when a kid with the ball would fall down and the rest of the kids would flock around the poor kid and rip his flags off, like a pack of hyenas taking apart an injured zebra. Apparently, taking 1 flag is just not enough...


I like this picture because it shows you how large number 1 is compared to the other kids
   After football came number 2's birthday party at Plumper Pumpkin Patch. This is hands down the best pumpkin patch in the Portland metro area. They have so many fun activities to do (hay rides, corn maze, hay maze, multiple slides, pumpkin bowling, playground, animals, Animals, and ANIMALS! The price is great and every year we spend almost the whole day. The party started at 1pm and we left when it closed at 5:30. Here are a few of the hightlights...
The kids running to explore the activities


MOO! I love cows

Hay slide

Pumpkin bowling


Number 2 feeding a cow. This was his favorite activity. A close second was being suckled by a 3 week old baby cow

Me waiting at the end of the slide for husband to come down


Getting suckled by baby cows. SQUEAL! 


Hayride

Birthday Boy

View from hay ride


Lisa and her family

Cow tractor ride 


Hay maze

Shasta and I like pigs...bacon...

At the top of hay tower
Surrounded by team pink.
   One of my bestest best friend's and her son, Tanner spent the night Saturday night. I love mama sleep overs. Lots of beer was consumed, food eaten, and stories exchanged. Spending that time with Shasta reminded me of the importance of making time for me and my friends. So much of my time revolves around my kids, husband, and house-making duties, that my friend time is hard to get in. But it is necessary to recharge your battery and not lose you.
   Ok, I totally have more to write about the importance of friend time but took a break from staring the the computer screen to look at number 2 sitting next to me and discovered he has been playing with my knitting and took the scarf I am making for someone off the needles. AHHHH! BYE!

PS. This post was apart of the Simply Creations Friday Link Up (http://www.mysimplehomelife.com/)